How to Root Google Nexus 4 in One Click with KingoRoot Android
Nexus 4, manufactured by LG, is actually one of Google's own. So, it always up to date with the latest version of Google. With your favorite Google Apps and services, cutting-edge Qualcomm Snapdragon™ S4 Pro processor and a vibrant 1280-by-768 4.7-inch display, Nexus arms you with speed and power to spare with stunning clarity and crisp.
Rooting Nexus 4 is one of the hottest topics over the Internet. Among plenty of ways to do it, Kingo Android Root actually stands out and speaks for itself by offering a super easy and fast way.
Root Google LG Nexus 4 via KingoRoot APK without PC
RECOMMEND
It is suggested for you to try KingoRoot Apk first because of its convenience, which saves you the trouble of connecting your LG device to a computer.
- Check "Unknown sources" on your Nexus 4.
- Download KingoRoot.apk on your Nexus 4.
- Install and launch KingoRoot apk.
- "One Click Root" it.
- Wait for a few seconds till the rooting script finish its course.
- If failed, try it again. (There are several rooting methods integrated, but it will only run one at a time.)
- If still failed, please refer to KingoRoot Android PC Version, which has a higher success rate.
Settings > Security > Unknown Sources
For more details, click How to root any Android device and version with KingoRoot APK?
Root Google LG Nexus 4 via KingoRoot Android (PC Version)
PREREQUISITES
- Free download KingoRoot and install it on your computer.
- Make sure your device is powered ON.
- At least 50% battery level.
- USB Cable (the original one recommended).
- Enable USB Debugging on your device.
Settings > About Phone > Build number > Tap 7 times Settings > Developer Options > USB Debugging
ROOTING STEPS
- First, double-click the desktop icon to launch Android ROOT.
- Next, connect your Nexus 4 to computer via USB cable.
- Then, enable USB debugging mode on your Nexus 4.
- Note: Read the notifications carefully before proceeding.
- Click ROOT to start the process when you are ready.
- ROOT Succeeded! Close the window or make a donation.
Below is what you are gonna see after you launch it.
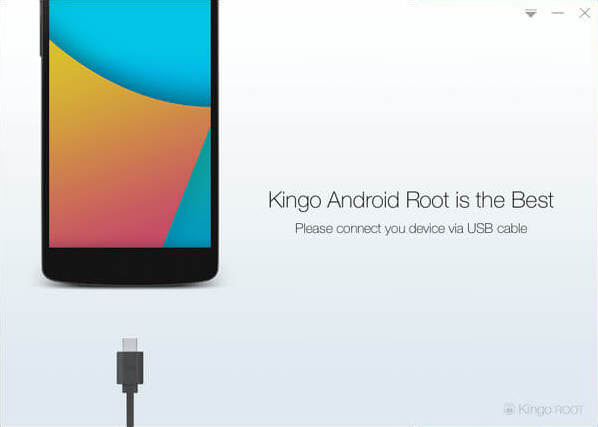
As you can see, there are instructions that you could follow. It may take a little longer if this is the first time you connect your device to computer. Driver software installation should be done automatically.
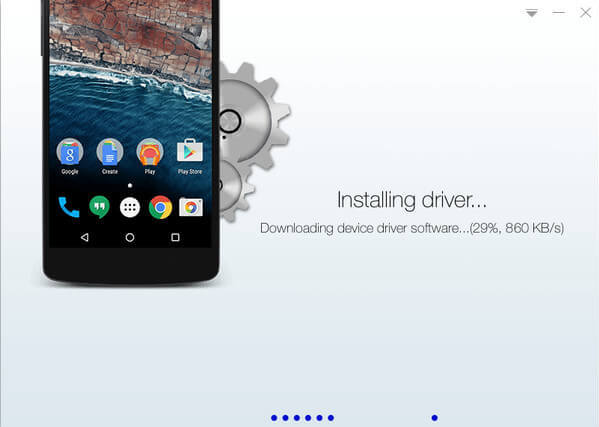
If you have already done this, skip this step and move on. If not, please follow the instructions as shown on the software interface according to your Android version.
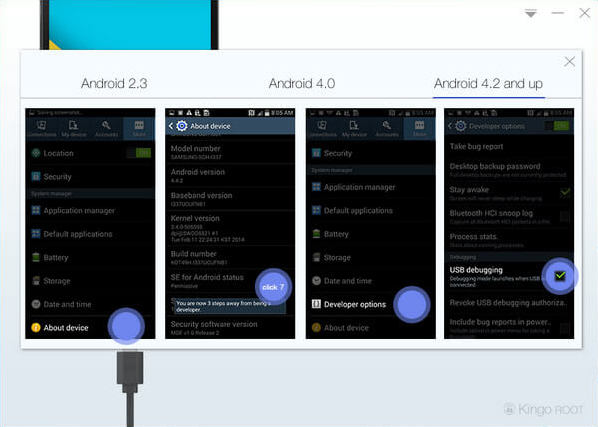
Rooting has its advantages for sure, however, it may also lead to certain consequences. So before jumping into this, please be sure you know what you are doing.
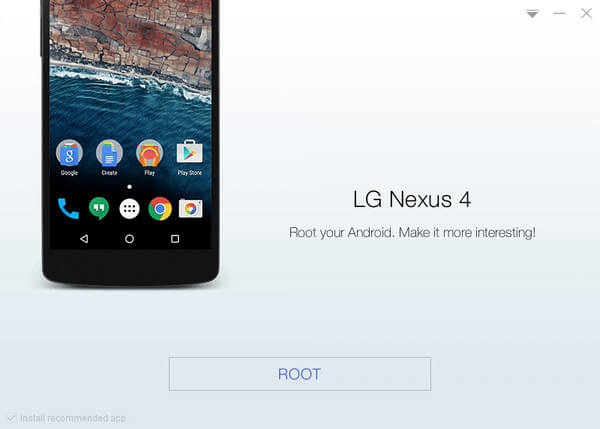
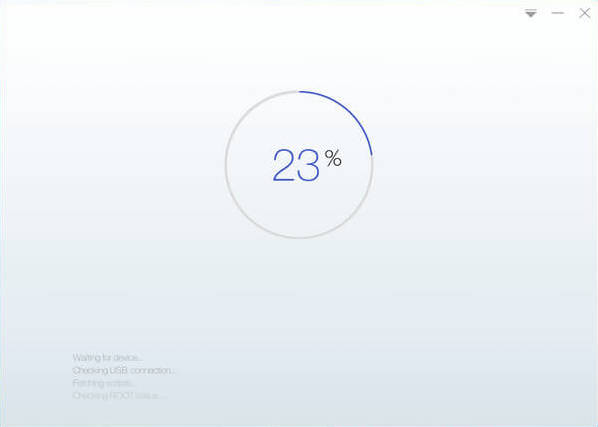
It will take 3 to 5 minutes to complete the process. Once you started, do not move, touch, unplug USB cable, or perform any operation on your device anyhow!
Your device is now successfully rooted. And you need to click Finish to reboot it in order to make it more stable. Still, do not touch, move or unplug it until it reboots. Check your device and find out SuperSU icon, which is the mark of a successful ROOT.

One more thing, you could remove root from your Nexus 4 with Android ROOT by one-click. Click to see how to remove root from Android.
KingoRoot on Windows
KingoRoot Android on Windows has the highest success rate. It supports almost any Android device and version.

KingoRoot for Android
KingoRoot for Android is the most convenient and powerful apk root tool. Root any Android device and version without connecting to PC.

Top Posts
- Successfully Get Root Access On Android 10 (Google Pixle 3 XL) With Magisk
- How to Root Android without Computer (APK ROOT without PC)
- How to Root Android with KingoRoot (PC Version)
- Best Top 5 Root Tools to Safely Gain Root Access for Your Android Devices
- How to Root Your Android 10.0 with Kingoroot root APK and PC root
- How to Root Your Android 5G with Kingoroot root APK and PC root
- How to Root Android 9.0 Pie with Kingoroot Both root APK and PC root Software
- How to Root Android 8.0/8.1 Oreo with KingoRoot APK and Root Software
- How to Root Huawei Packed with EMUI 8 and EMUI 9 or Higher with Magisk
- How to Root Samsung running Android 9.0 Pie with Magisk